


Ten Low-Cost VRF Maintenance Practices
VRF systems are sophisticated equipment: inverter compressors, electronic expansion valves, proprietary controls, but many buildings maintain them like a conventional rooftop unit. The result: small, cheap-to-catch problems become five- or six-figure repairs. Here are ten low-cost VRF maintenance practices that catch problems early, keep manufacturer warranties intact, and meet B.C.’s refrigerant-handling rules.
For owners and facility managers in Metro Vancouver and surrounding municipalities, a structured maintenance plan is one of the most effective ways to prevent downtime, extend equipment life, and control operating budgets.
1. Verify your contractor ‘actually’ knows VRF.
General refrigeration licensing isn’t enough, LG and Mitsubishi both condition their warranties on manufacturer-specific training and authorized contractors, and using an unqualified technician for a repair can void coverage outright. The most important of the ten low-cost VRF maintenance practices is to ensure your contractor has the right skills. Ask which technicians hold current manufacturer training, when it was last renewed, and whether they carry the manufacturer’s diagnostic software (LGMV, Daikin’s service tools). Keep qualification records on file.
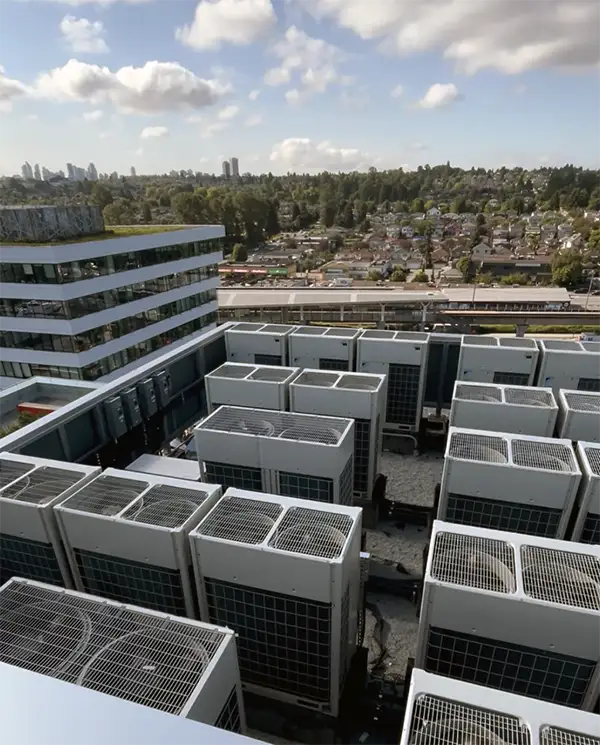
A rooftop VRF condenser field in Metro Vancouver — dozens of outdoor units, each with its own refrigerant circuit, piping runs, and service history to track.
2. Treat leak detection as ongoing, not reactive.
Waiting for an error code to trigger before you go looking means the loss is already significant. Combine physical inspection with operating-data analysis, pressures, compressor frequency, discharge temperature, EEV position, superheat/subcooling, trended year over year, so a system behaving differently than it did twelve months ago becomes visible early. B.C. regulation requires a leak test before any recharge, and federal rules mandate annual testing for circuits exceeding 10 kg. LG’s own warranty requires an hour of run data at commissioning; treat that as the floor for every annual visit, not just startup.
3. After a major leak, check the oil, not just the refrigerant.
Refrigerant and compressor oil circulate together throughout a VRF piping network, so an oil stain is often what reveals a leak in the first place. After a big loss, don’t just repair the leak, evacuate, and recharge — verify the oil balance. Daikin warns that its emergency-operation mode depends on oil equalization between compressors, and disrupting it (for example by disconnecting contactor wiring) can damage the surviving compressor. Document how much refrigerant was lost, any visible oil loss, and whether the manufacturer’s oil-verification procedure was actually performed, not assumed unnecessary.
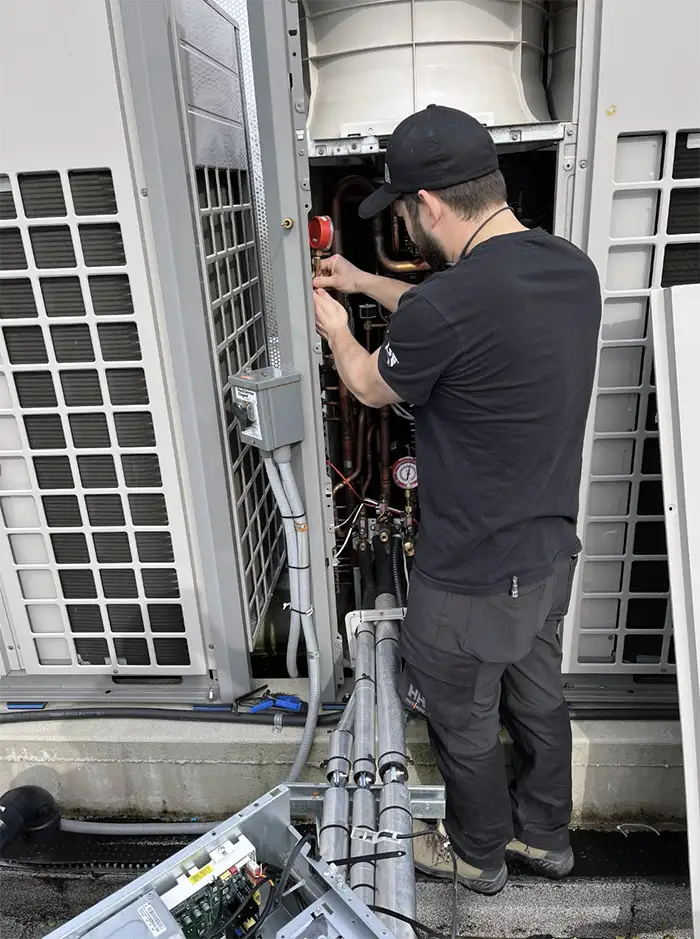
A technician taking pressure readings inside an outdoor unit’s service compartment — the kind of manufacturer-specific diagnostic work this guide is asking your contractor to be able to do.
4. Inspect known leak points at every visit.
Service valves, Schrader ports, flare and brazed joints, branch-selector boxes, and outdoor-unit connections are the usual failure points, along with any area already showing oil staining. A $200 fitting repair now beats a $20,000 wall-opening exercise later. Build a building-specific “known leak points” checklist and inspect it at every major service, not only once a fault has already appeared.
5. Install access panels before you need them.
Refrigerant piping is often buried in drywall bulkheads, ceiling cavities, and vertical chases. A $300 access panel near a branch joint, isolation valve, or past leak location lets a technician use leak detectors and scopes to narrow down a problem instead of opening finished surfaces. Add one whenever drywall is already open for another repair.
6. Support long piping runs correctly.
Copper expands and contracts as its temperature changes, and VRF systems see substantial swings depending on operating mode. Long horizontal runs pinned with rigid cushion clamps concentrate that movement at the nearest brazed joint instead of letting it distribute, a common, avoidable cause of recurring leaks at the same spot. Use sliding trays or saddles instead, and check accessible long runs annually for rigid clamping, damaged insulation, copper rubbing against structure, and unsupported fittings.
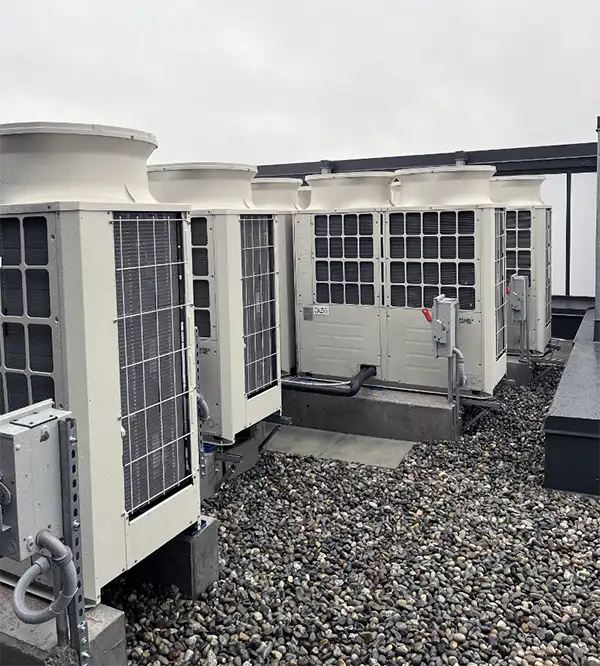
Mitsubishi Electric City Multi outdoor units installed on a Metro Vancouver rooftop — the equipment this warranty language applies to.
7. Use your existing controls as an early-warning system.
Your BAS or VRF controller may already log alarms and error history, LG’s LGMV and self-diagnostics, Daikin’s stored error history (10 errors on the remote controller, 5 per indoor unit), without anyone having configured it to notify your contractor. Ask what your system already supports before a resident’s cold call is the first you hear of a fault.
8. Trend compressor electrical health.
The compressor is the most expensive component in the system, so don’t wait for it to fail. Daikin specifies insulation-resistance testing with a 500V mega-tester: below 1 MΩ, heat the unit six hours and retest before condemning the compressor, skipping that step replaces compressors that didn’t need it. Trend resistance, amperage, frequency, and fault history over time so a single reading actually means something against a baseline. After any compressor failure, find out why, whether oil or contamination was involved, how long the system ran on backup operation, and evaluate the surviving compressor too, don’t assume it’s fine just because it’s still running.
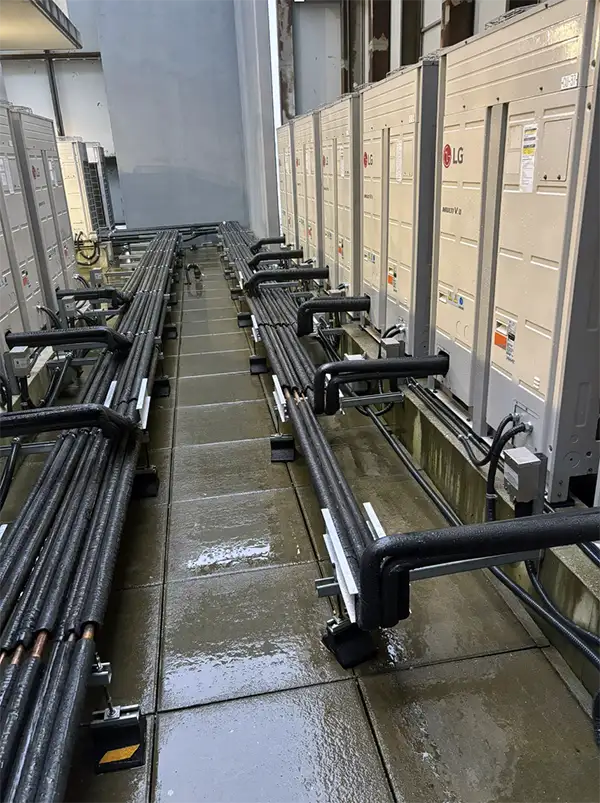
A long horizontal refrigerant run supported entirely on rigid cushion clamps. Replacing these with sliding trays or saddles lets the pipe move with thermal expansion instead of concentrating stress at the nearest brazed joint.
9. Check how outdoor air enters the system
Standard VRF indoor units aren’t built to have outdoor air ducted directly into their return, which is why manufacturers pair VRF with dedicated outdoor air units or ERVs instead. Getting it wrong risks condensation, coil freezing, and liquid refrigerant returning toward the compressor. Verify against the specific indoor unit’s engineering literature, not a rule of thumb from a different model.

Oil recovered at a compressor fitting during a service call. A visible oil stain like this is frequently the first clue that leads a technician to the actual leak location.
10. Keep breakers energized; control from the thermostat.
Cutting power at the breaker leaves the electronic expansion valve uncontrolled, opening a path for liquid refrigerant to migrate back toward the compressor, risking oil dilution or a slugged start. Instruct residents, and label panels, to leave the HVAC breaker energized and turn units off at the thermostat instead, reserving the breaker for emergencies or service work.
Conclusion: Proactive maintenance creates longevity and saves money.
None of these ten low-cost VRF maintenance practices requires a capital project. Most of it is redirecting labour you’re already paying for under an existing service contract. Manufacturers void warranties over exactly these gaps, and B.C. regulation requires several of them outright. The through-line across all ten is documentation: a single reading tells a technician how the equipment is running today, but a year-over-year record is what actually catches a system drifting toward failure. Ask your contractor to show, not just tell you, that these ten practices are part of the program, and keep the records to prove it later.
The future of high performance mechanical – True Mechanical.
Across Vancouver and Western Canada, True Mechanical continues to lead mechanical innovation, collaborating with clients and engineers to integrate next-generation systems from the earliest design phase.
If you have a project you’d like to discuss, contact our team and lets make something happen.